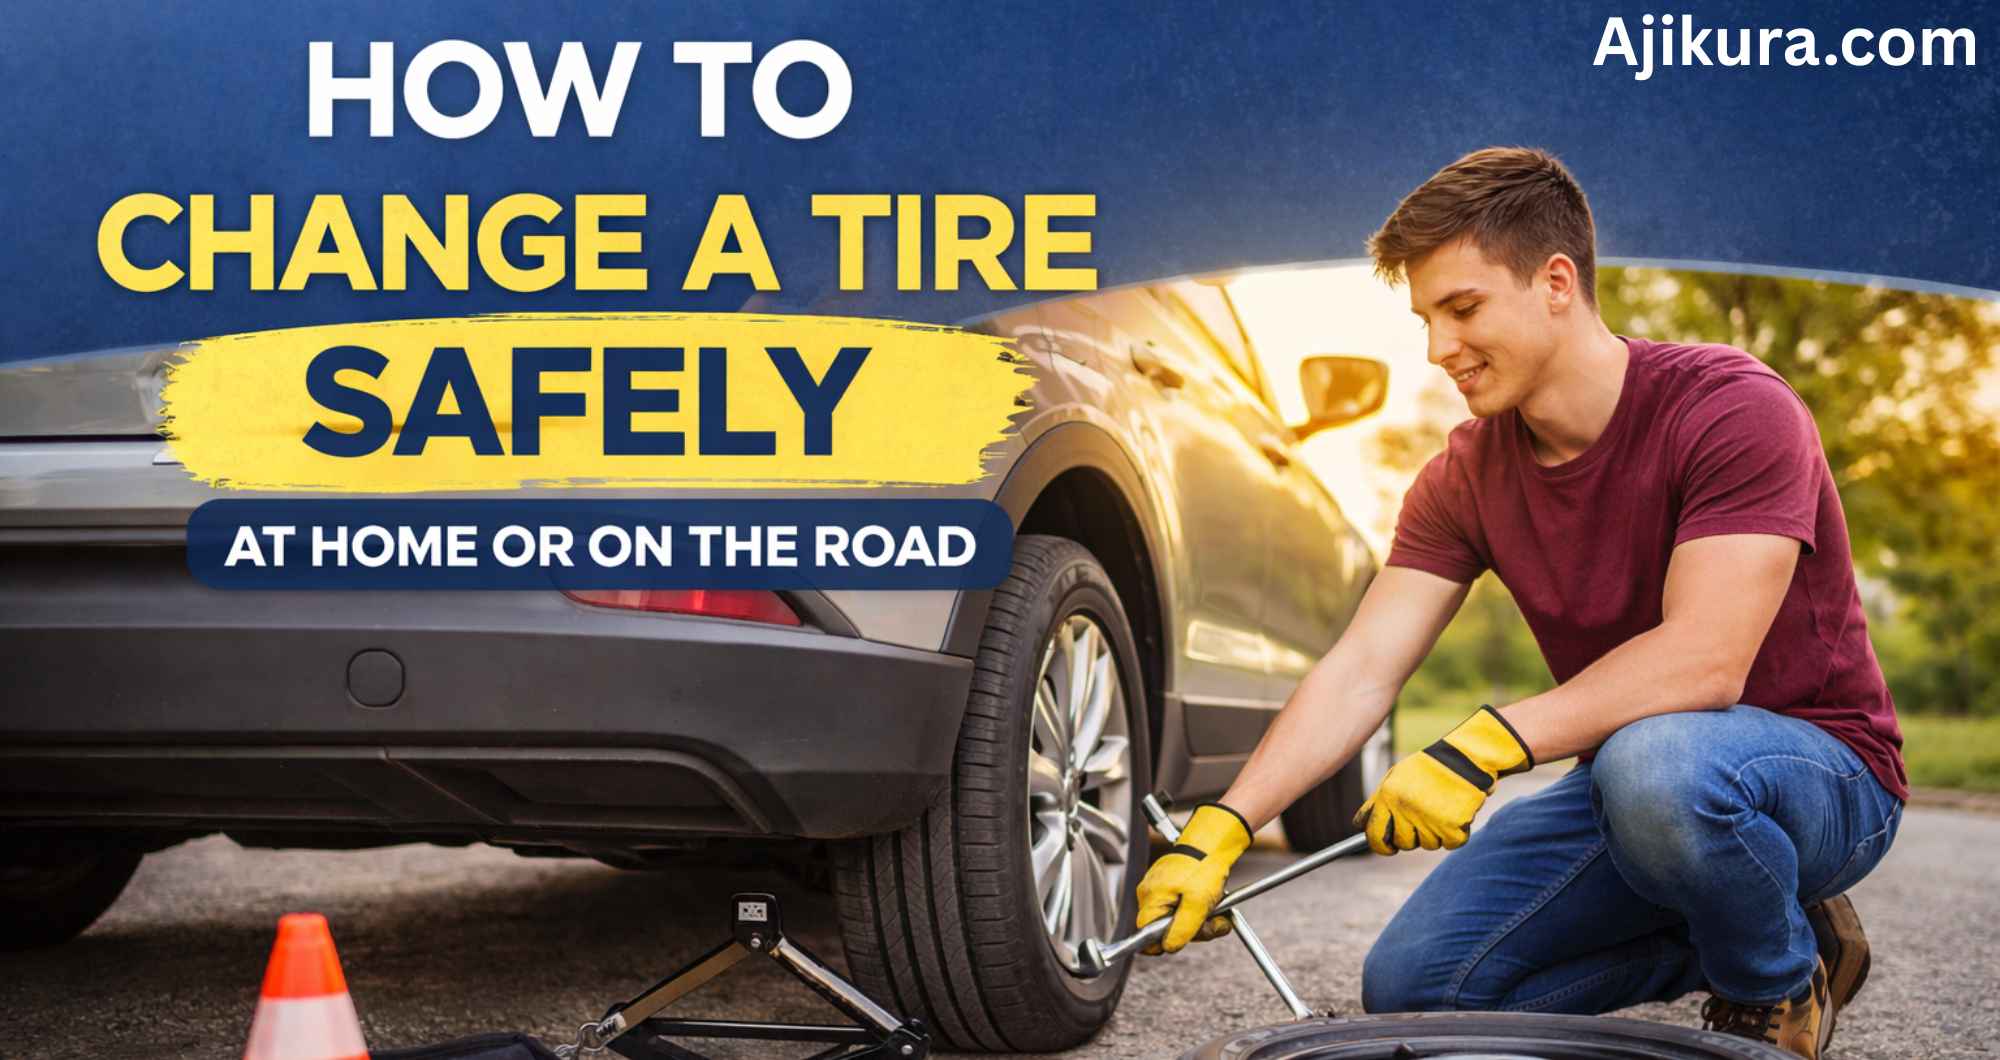
Flat tires can happen at the most inconvenient times, leaving you stranded and frustrated. Whether you’re at home or on the road, knowing how to change a tire is an essential skill every driver should master. It not only saves you time but can also save you money by avoiding costly roadside assistance fees.
In this guide, we’ll walk you through everything you need to know about how to change a tire safely and efficiently. From gathering the right tools to understanding crucial safety precautions, we’ve got your back. With our easy-to-follow steps, you’ll be equipped to handle that flat with confidence—no matter where it happens! Let’s dive in and empower yourself with this invaluable knowledge today.
Tools You Need to Change a Tire
For how to change a tire effectively, you’ll need a few essential tools. First and foremost, ensure you have a spare tire that is properly inflated. A flat spare won’t do much good when you’re in a pinch.
Next, grab a lug wrench. This tool allows you to loosen and tighten the lug nuts securing the wheel to your vehicle. Make sure it fits your car’s lug nut size; otherwise, it won’t work correctly.
You will also need a car jack for lifting your vehicle off the ground. There are different types of jacks available—floor jacks or scissor jacks are commonly used. Ensure it’s sturdy enough to safely lift your car without slipping.
Having safety equipment like reflective triangles or flares can enhance visibility if you’re changing a tire on the roadside. A flashlight may also come in handy if you’re working in low-light conditions. Keeping these tools organized and accessible ensures that you’re always prepared for an unexpected flat tire situation.
Safety Precautions Before You Start
Before you start changing a tire, it’s crucial to prioritize safety. First, find a flat and stable surface away from traffic. If possible, pull over to the shoulder of the road where your vehicle is visible but protected from passing cars. Ensure that your hazard lights are on to alert other drivers.
Next, apply the parking brake. This step prevents your vehicle from rolling while you’re working on it. It’s an essential precaution that can save you from potential accidents or injuries.
Wearing gloves can protect your hands from dirt and sharp edges when handling tires and tools. Additionally, if it’s dark or visibility is poor, use a flashlight to ensure you see clearly while working on the tire.
Keep children and pets at a safe distance while you’re changing the tire. Their curiosity could lead them close to moving vehicles or heavy equipment like jacks and lug wrenches. Ensuring everyone stays safely back allows you to focus without distractions during this critical task called how to change a tire?
Step-by-Step Guide to Changing a Tire
Changing a tire might seem daunting, but following these steps can make the process smooth and straightforward. Start by ensuring your vehicle is on a flat surface and engage the parking brake. This will help prevent any unwanted movement while you work.
Next, gather your tools: a spare tire, jack, lug wrench, and safety triangles or cones for visibility if you’re on the road. Begin loosening the lug nuts slightly while the tire is still on the ground; this prevents them from spinning freely when lifted.
Now it’s time to use the jack. Place it under your vehicle’s designated jacking point as indicated in your owner’s manual. Carefully lift until there’s enough clearance to remove the flat tire completely off its hub without straining yourself.
Once elevated, fully remove all lug nuts and take off the flat tire. Align your spare onto the hub carefully before hand-tightening each lug nut initially. Lowering comes next—bring down your vehicle slowly until it rests back on solid ground before tightening those nuts securely in a crisscross pattern for even distribution.
How to Use a Car Jack Correctly
Using a car jack correctly is crucial for your safety while how to change a tire. Begin by parking your vehicle on a flat, stable surface to prevent any movement during the process. Engage the parking brake and turn on your hazard lights to alert other drivers.
Next, locate the designated jacking points outlined in your car’s owner manual. These are usually reinforced areas along the frame of the vehicle. Position the jack under one of these points and ensure it sits securely before you start lifting.
When operating a hydraulic or scissor jack, take care not to exceed its weight limit as specified by the manufacturer. If you’re using a hydraulic jack, pump it up slowly until it lifts off the ground but avoid raising it too high—just enough for tire clearance will do.
Always keep an eye on stability while working underneath or near a lifted vehicle. If needed, place wheel chocks behind tires that remain on the ground for extra security against rolling or shifting when elevated with a jack.
Removing the Flat Tire Safely
Once the vehicle is securely raised, it’s time to remove the flat tire. Start by ensuring you have a firm grip on the lug wrench. Turn it counterclockwise to loosen each lug nut slightly before fully removing them. This prevents any sudden movement as you detach the wheel.
Next, carefully take off all the lug nuts and place them in a safe spot where they won’t roll away or get lost. It’s crucial not to misplace these small components because you’ll need them for reinstallation later on.
With all lug nuts removed, grasp the flat tire with both hands and pull it straight toward you. Be cautious of its weight; if you’re working alone, consider using your legs more than your back to avoid strain.
After detaching the flat tire from its hub, check for rust or debris around the mounting surface of your vehicle’s wheel hub. Cleaning this area can ensure a smooth fit when installing your spare tire later on while also preventing potential damage.
Installing the Spare Tire
With the flat tire removed, it’s time to install your spare. Start by positioning the spare tire onto the wheel hub. Ensure that the holes in the wheel align with the wheel studs on your vehicle. This alignment is crucial for a secure fit.
Next, carefully slide the spare onto these studs while keeping it slightly elevated from its resting position. Once it’s in place, hand-tighten each lug nut by turning them clockwise. Make sure not to tighten fully just yet; this step only ensures that they hold the tire securely as you lower your vehicle.
Once all lug nuts are hand-tightened, lower your car back to ground level using the jack. Afterward, grab a wrench and firmly tighten each lug nut in a crisscross pattern—this helps distribute pressure evenly across the spare tire and prevents wobbling during driving.
Make sure everything feels secure before moving on. You might want to double-check that no tools or equipment have been left behind as you prepare to hit the road again safely with your newly installed spare tire.
Lowering the Vehicle and Final Checks
In process of how to change a flat tire, Once the spare tire is securely attached, it’s time to lower the vehicle back to the ground. Start by ensuring that your car jack is still stable and properly positioned under a solid part of the vehicle frame. Slowly release the jack’s pressure, allowing it to descend gradually. Avoid lowering too quickly; this can cause instability.
As your vehicle returns to its normal position, keep an eye on how it settles onto all four tires. Make sure that everything looks aligned and ready for driving again before fully releasing any tension from the jack mechanism.
After you’ve lowered your car completely, check each lug nut one last time. Use your wrench to ensure they are tightened according to manufacturer specifications—most should be tightened in a star pattern for even distribution of pressure.
Don’t forget about storing all tools and equipment safely in your trunk or storage compartment after you’re done. Having them organized will save you time if another flat occurs down the road.
Common Mistakes to Avoid
Changing a tire may seem straightforward, but common mistakes can lead to accidents or damage. One frequent error is neglecting to secure the vehicle properly before lifting it with a jack. Always ensure that your car is parked on level ground and engage the parking brake.
Another mistake involves not loosening lug nuts before raising the vehicle. If you try to loosen them while the tire is in mid-air, it can be challenging and unsafe. Loosening these nuts when the tire is still grounded provides stability.
People often overlook checking for proper inflation of spare tires as well. A flat or under-inflated spare tire won’t do much good if an emergency arises. Regularly inspect your spare to ensure it’s ready whenever needed.
Many individuals forget to replace all lug nuts after installing a new tire securely. Failing to tighten them adequately could cause serious issues while driving, such as losing control of your vehicle due to a wheel detaching unexpectedly during travel.
How Long Does It Take to Change a Tire?
Changing a tire is a task that many drivers dread, but it doesn’t have to be daunting. The time it takes to how to change a tire can vary based on several factors, including your experience level and the equipment you’re using. Generally, if you’re familiar with the process, you can complete the job in about 30 minutes.
For those who are inexperienced or facing challenging conditions—like inclement weather or uneven ground—it may take longer. It’s essential to remain calm and focus on each step without rushing through them. Taking your time ensures safety and accuracy when changing out the tire.
Having the right tools readily available can also speed up the process significantly. A quality jack, lug wrench, and wheel chocks will help ensure everything goes smoothly. If you’re prepared beforehand by knowing where these tools are stored in your vehicle, you’ll save valuable time during an emergency situation.
Keep in mind that practice makes perfect. By regularly practicing this skill at home or having someone guide you through it initially, you’ll become more proficient over time—and reduce how long it takes when you’re faced with a flat on the road.
When to Call Roadside Assistance
Knowing when to call roadside assistance can save you time and stress. If you’re faced with a flat tire but lack the tools or confidence to change it yourself, it’s best to reach out for help. Professionals have the equipment needed and can ensure everything is done safely.
Another situation where roadside assistance comes in handy is if your vehicle won’t start due to battery issues or other mechanical failures. Jump-starting a car may not always be straightforward, especially if you’re unfamiliar with the process. Technicians can diagnose the problem on-site.
If you’ve locked yourself out of your car, calling for assistance is often faster than trying to unlock it on your own. Many services offer lockout solutions that prevent damage to your vehicle while getting you back inside quickly.
Severe weather conditions also warrant a call for help. Whether stuck in mud or snow, attempting self-recovery can lead to further complications or even accidents. Roadside professionals are trained for these situations and equipped with specialized tools designed for recovery.
Tire Maintenance Tips to Prevent Flats
Regular tire maintenance is essential for preventing flat tires and ensuring your safety on the road. Start by checking your tire pressure at least once a month. Under-inflated tires can lead to blowouts, while over-inflated ones reduce traction. Always refer to your vehicle’s manual for the recommended pressure levels.
Next, inspect your tires for any visible damage or wear. Look for cracks, bulges, or embedded objects that could cause leaks. Rotate your tires every 5,000 to 7,500 miles to promote even wear and extend their lifespan.
Don’t forget about tread depth; it plays a crucial role in traction and handling. Use the penny test: insert a penny into the tread with Lincoln’s head facing down. If you can see all of Lincoln’s head, it’s time to replace those tires.
Ensure proper alignment and balancing when installing new tires or after hitting potholes. Misalignment can cause uneven wear and increase the risk of flats down the line. Regular maintenance helps keep you safe while maximizing tire performance.
FAQs About Changing a Tire
Changing a tire can seem daunting, especially if you’ve never done it before. But with some practice and the right knowledge, it becomes a manageable task. Here are answers to some common questions about changing a tire.
What tools do I need to change a tire?
You will typically need a spare tire, jack, lug wrench, wheel chocks, and possibly gloves for better grip and cleanliness.
How long does it take to change a tire?
On average, changing a tire takes about 30 minutes. However, this can vary depending on your experience level and conditions like weather or time of day.
Can I drive on my spare tire indefinitely?
Most spare tires are designed for temporary use only. They usually have speed limits (often around 50 mph) and should be replaced as soon as possible with a full-size tire.
What if my flat occurs at night?
If you’re stranded at night, find well-lit areas wherever possible. Always prioritize safety by wearing reflective clothing if you must work outside your vehicle.
How to change a bike tire?
Should I attempt to fix the flat myself first?
It depends on the damage type. Small punctures can often be fixed temporarily until you reach help; however, large tears may necessitate replacing the entire tire instead of attempting repairs yourself.